Griffon MEPAC in 1/48 scale: from 3D design to prototype
From a 3D file to a physical model
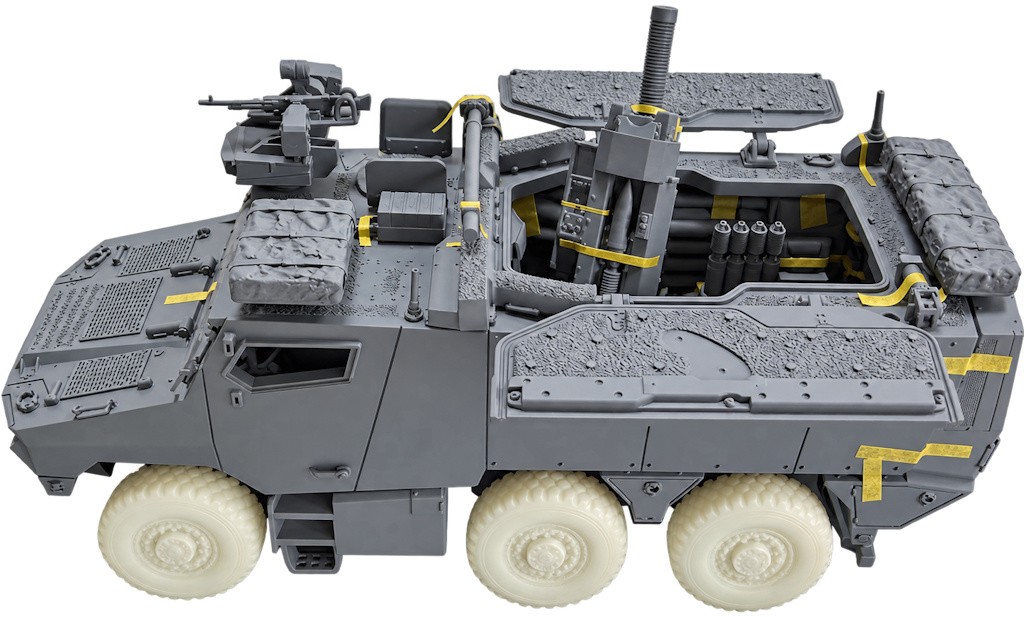
Following our first article on the 1/48-scale 3D design of the Griffon MEPAC, it’s time to move on to the prototype! The model is leaving the screen to take shape in our workshop. This step allows us to physically verify the design, the fit of the parts, and their assembly before continuing with development.
A prototype with multiple functions
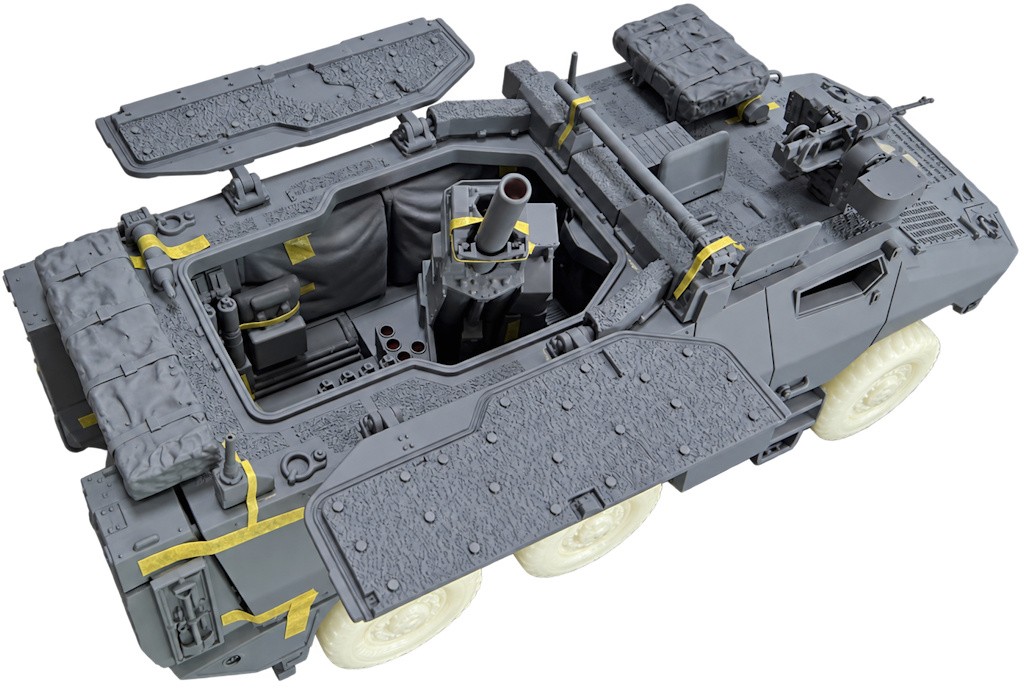
An assembly that looks coherent on screen must also function properly once the parts have been built. The resin prototype allows us to check the fit, access to the various components, and the assembly sequence.
On the Griffon MEPAC, this verification focuses in particular on the interior layout, the integration of the mortar, and the parts surrounding it. The open hatches allow us to observe this work and appreciate the dimensions of the fighting compartment.
This prototype is also used to prepare the small metal parts that will complete the model. These parts are produced at a later stage, once the resin prototype and the relevant assemblies have been validated.
Three approval stages before production
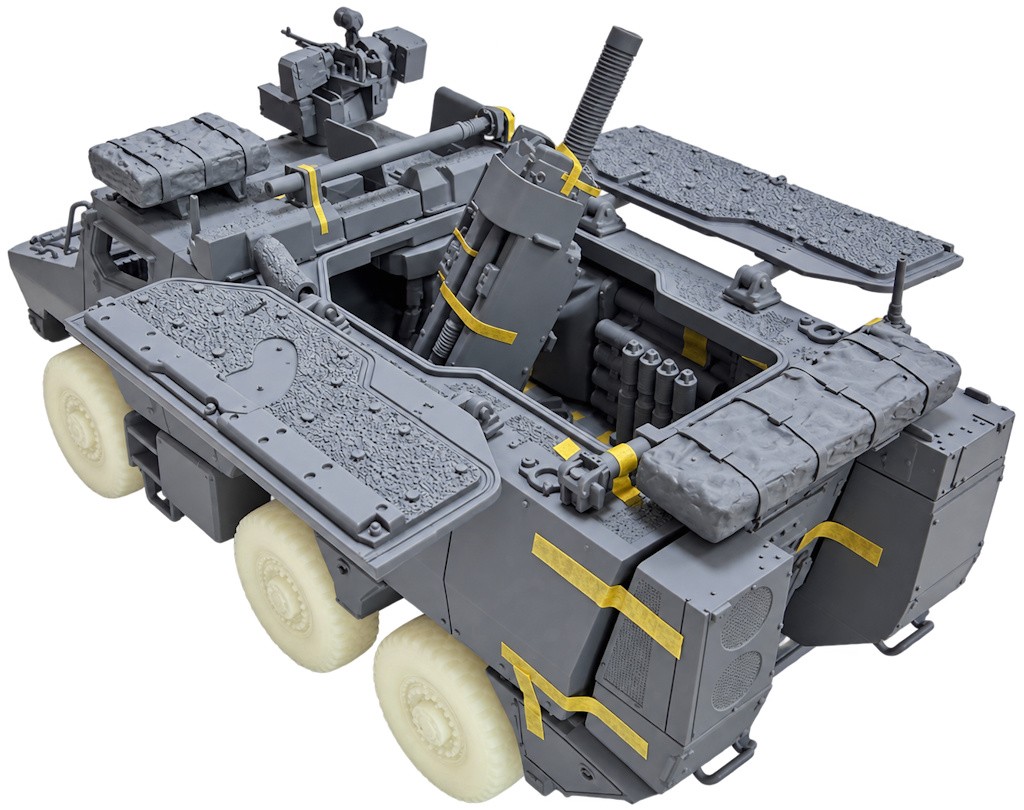
At Promodels, our process consists of three complementary steps:
- 3D design validation. The digital file and the various parts that make up the model are reviewed before the prototype is built.
- Validation of the physical prototype. The physical parts allow us to verify the assemblies and prepare for the integration of small metal components.
- Client approval of the sample. A sample is sent for final approval before production begins.
The photographs in this article illustrate the second step. This is a working prototype, and some elements may still change.
Bringing the details to life
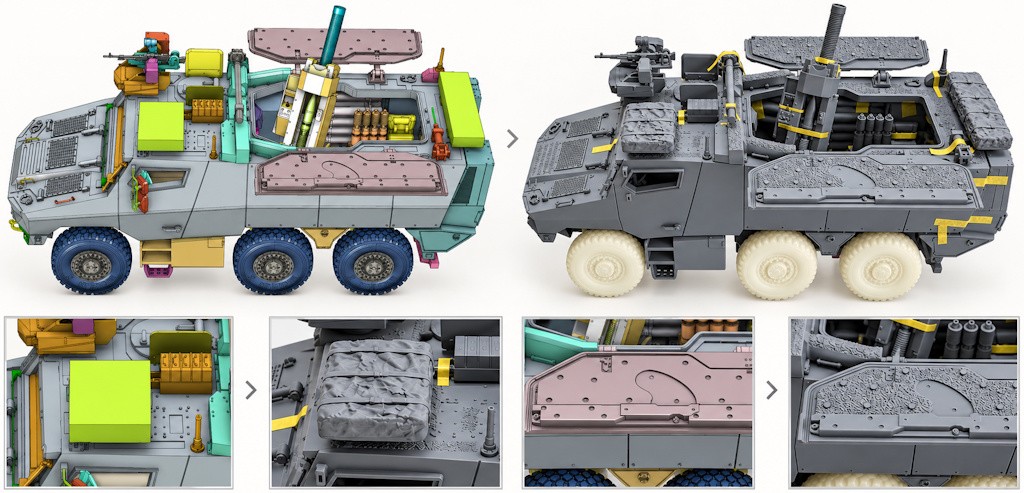
From the 3D file to the prototype: the baskets are fitted with tarps and straps, while the surfaces are given their non-slip texture.
The transition from 3D to a prototype involves more than just reproducing a file. At each stage, the model maker contributes additional work.
The simple shapes that represent the baskets in the digital design become detailed assemblies, complete with tarps, folds, and straps. Some smooth surfaces are given a non-slip texture. These adjustments give the miniature the desired depth and presence.
This requires mastery of both digital design and working on a physical model, while adapting the level of detail to the constraints of the 1/48 scale.
Reference documentation guides the model maker’s work
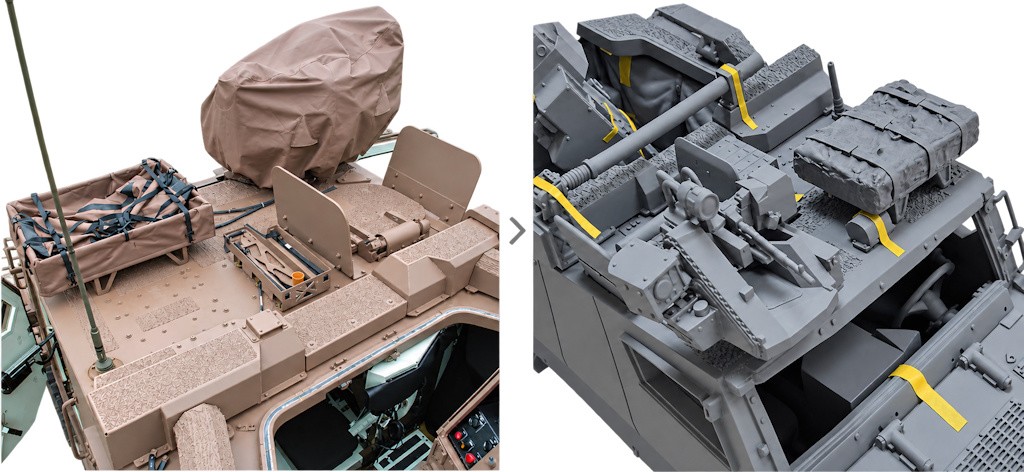
From reference photos to prototype: studying equipment and mounting points to recreate a vehicle configured for operational deployment.
A comparison between the actual vehicle and our prototype highlights the importance of detailed documentation. It allows us to examine the equipment, its mounts, storage compartments, and textures, and then interpret them on the scale of the model.
Knowledge of the subject also helps us anticipate the configuration of the fully equipped vehicle, beyond what a single photograph can reveal. Each addition must fit into a coherent whole: this is where the model maker’s experience makes all the difference.
The next step will be to finalize and validate this prototype before preparing the sample for the client.
Let's discuss your project
Would you like to showcase a vehicle or piece of industrial equipment with a custom-made model?